 by
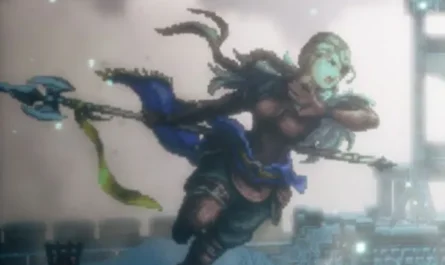
by The Jester Replica is a slightly different version of the boss The Jester of Constance and I would say that it is a bit more complicated than its previous version and I even dare to say that for the moment it is the most complicated boss.
What makes this battle so difficult is that the Replica Jester will spend almost the entire fight attacking while invisible, and you’ll have to rely on the trail of wind he leaves behind. Luckily for us, this time there’s no element of chance in the battle; it’s just charge after charge.
Review of Book of Dead slot by Play’n GO
I can tell you right now that anticipation and knowing how to read their patterns will be key in this battle. Like in all battles, right? This time even more so.
Boss Location: Chaotic Carnival

The Jester Replica is located in the purple-painted room, a room that, as you can see, has a Sanctuary and near it, one of those “luminous eyes of Sauron” that we have to activate to complete the mission “Going Round and Round” (the one that will allow you to get the tear from the Chaotic Carnival area).
You will not be able to access this area without first defeating The Manipulator .
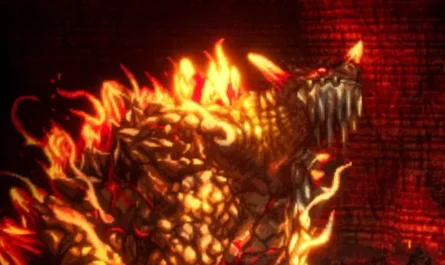
Jester’s Replica Attack Guide
It doesn’t follow a typical attack pattern; instead, it repeats the same attack over and over, but with slight variations . In this case, I won’t give you the fish; I’ll teach you how to fish.
His attacks are always the same; the boss will charge across the screen (sometimes vertically, sometimes horizontally) in different patterns. You can tell where the boss is going by the column of wind he creates in his wake (he’s always facing that trail).
What should you do? Well, you stay in the center of the screen and on the ground. Just by staying on the ground, you avoid damage from most horizontal charges, except for those that come directly at ground level, which are the only ones you’ll dodge (of the horizontal ones; you dodge the vertical ones when they pass through the center, of course).
The trick to this battle is anticipating his movements . He usually starts his attack streak from a high position if he attacks horizontally, or from the sides of the screen if he attacks vertically. As soon as he starts, quickly read the pattern he’s using to know the exact moment the boss will pass by your position, and that’s when you’ll dodge with the dash .
Keep in mind that when dodging a horizontal ground attack with a dash , you’ll need to dash in the opposite direction of the boss’s charge for maximum effectiveness. Also, remember that you don’t need to dodge the boss’s wind; he’ll always be slightly ahead of you.
Be aware that there are a few attacks where being in this default position (center ground) will inevitably damage you, but you’ll have to deal with it. It’s better to take those few hits knowing you’ll be safe from the vast majority of their other moves.
Another detail: when you’re close to defeating him, he’ll start an attack where he strikes with a single vertical pillar, and then he’ll strike with vertical pillars that cover the entire screen except for the area where the first pillar passed. So, after dodging that first pillar, you quickly position yourself in that spot.
How to Harm Him?
Each time you dodge three or four of its attacks, the boss will suddenly freeze in the position where its last movement ended , so pay attention to its final position after you’ve dodged several attacks. The boss will also emit a kind of sparkle to make it a little easier to find.
When this happens, quickly hit them with a Brush Thrust (equip the “Sustain” Inspiration to heal yourself a bit). Don’t forget to equip Dark Embrace so you can dash as much as you want without taking damage.
When you hit him about 3 times like this, the boss will be stunned and visible on the ground for a while, at which point you take advantage to hit him with the typical combo of 3 normal attacks + Brush Thrust (more damage and a little healing with Sustain).
You will stun him a total of 3 times before defeating him, meaning that the third time you stun him is when you will manage to reduce his life to the maximum under normal conditions.
Rewards for Overcoming the Battle
Once again, we’re facing a rather stingy boss, who only grants us a few Glimpses and Light Stones. After defeating him, you can continue through the Chaotic Carnival area, and well… check out the post below because you’re about to get something VERY important that you might miss :next boss
And that’s it! Were you surprised by the fight against Constance ‘s Replica Jester ? Would you say it’s the toughest boss so far? Leave a comment!