 by
by The “Golden Sleep” world quest series will take you through the desert and discover remnants of the past.
Once the “Lost in the Sands” quest is completed, this second quest and sequel will trigger immediately.
Initiatory quest on the mechanisms of the Scarlet Desert, this one will lead you to the discovery of the Temple of Khemenu.
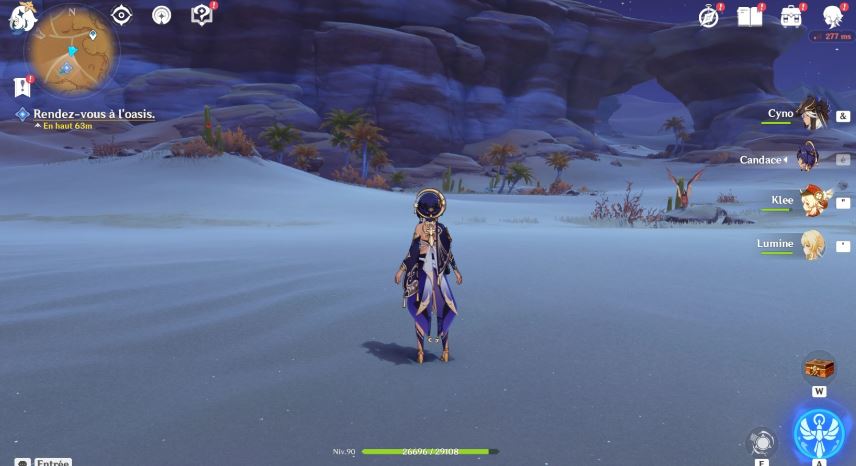
First stop: the oasis of Sobek
From your last location at the end of the first quest in this series, head south where you’ll find a small waterhole.
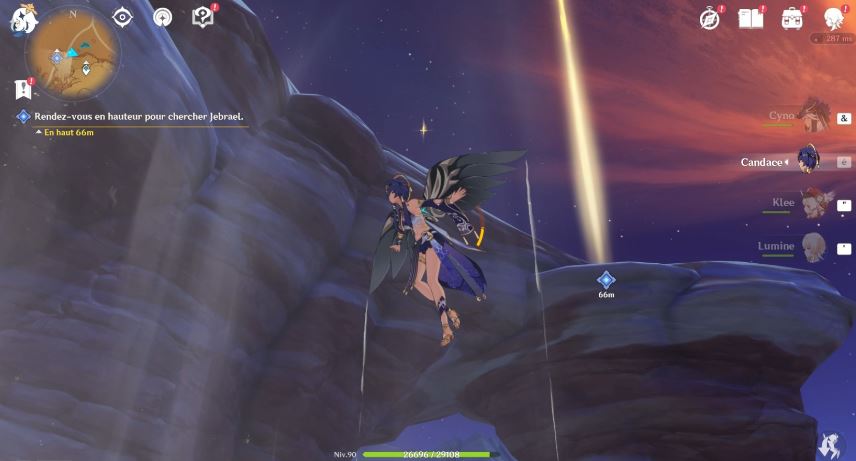
After some discussion with the archeology team, search for Jebrael. This will be up high.
So take the sand stream to propel you into the air so you can use the clover badge higher up.
Second stop: The temple of Khemenu
After a good night’s sleep, head to the following ruins.
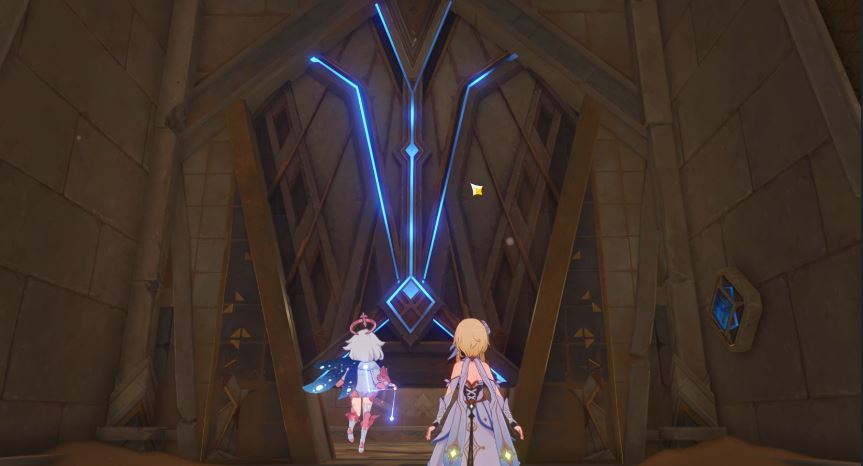
Enter the structure using Benben, until you reach a large closed door.
In order to continue, you will need to light the two primal torches around the door.
To do this, go through the first door behind Jebrael.
Cross the long corridor until you reach a room containing a cone of primal light.
Take it and bring it to the Replicator Stone. This will spawn the first of two embers you will need.
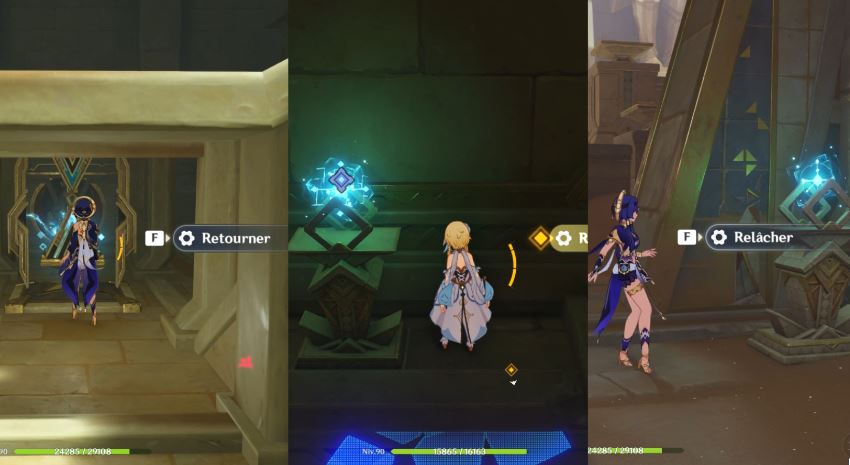
Press “release” to release the embers. Follow it and release it again when it lands on a second base.

Bring it to the Primal Torch where it will enter in order to activate it.
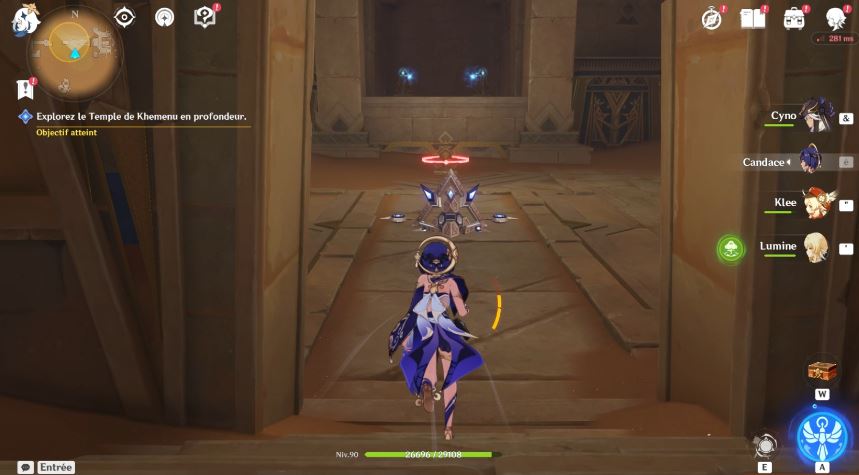
Now take the second door, on the right, until you reach a primal structure and a pedestal blocked behind it.
Defeat the monster to unlock the base and detach the ember that appears to lead it to the second torch.
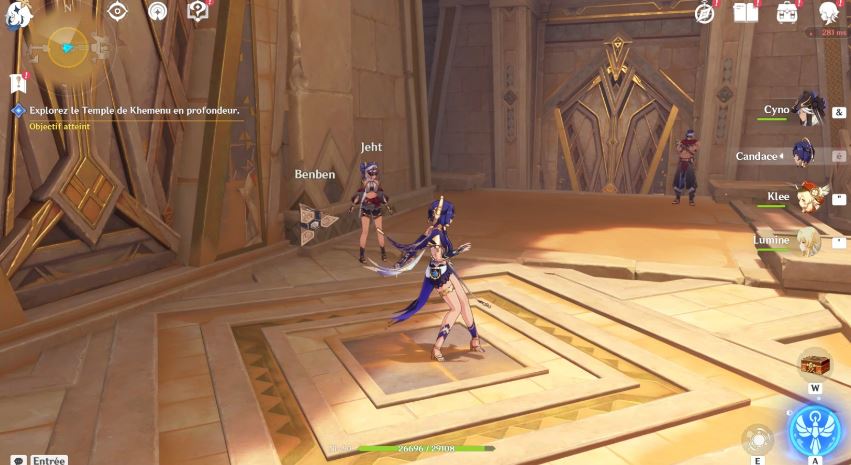
With the door open, you can now continue exploring the lower level of the temple.
This will eventually lead you to a new dead end and a large room.
In your desire to unlock the back room, retrace your steps to the teleporter. You will then notice that two side doors have just opened.
Direction the corridor next to which stands Jeht.
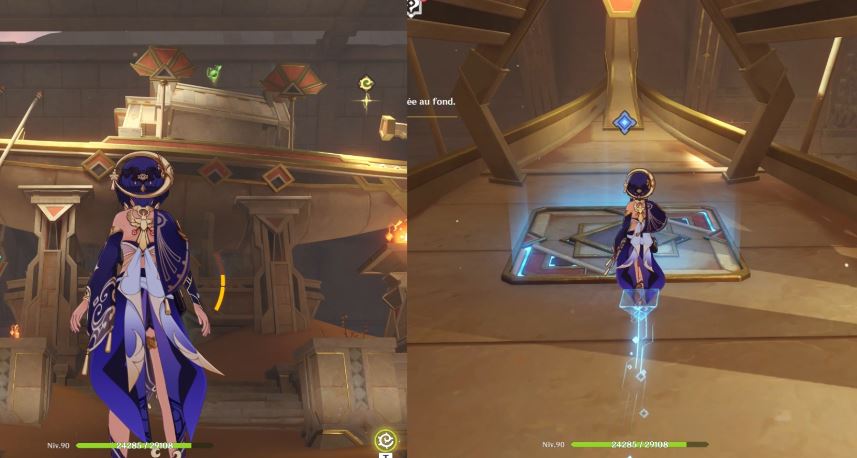
You will arrive in a room in the middle of which stands a small structure. Climb it to find an hourglass.
These hourglasses are mechanisms to be activated in numbers. In this case, once the first hourglass has been flipped, you will need to find two others and activate them in turn to obtain a chest.
Activating this puzzle will also give you access to the clover badges and therefore to an ember located high up, against a wall.
Release the ember and follow it until it opens a door for you. Choose the “release” option again to lead her to her torch.
Back in the central room, head back to the teleporter and the other open door you haven’t gone through yet.
At the end of the corridor, this time you will find a boat. Use the Clover Badges to climb up there and collect a Primal Light Cone next to the Dendroculus. Bring it to the replicator stone to make the second ember appear.
Similar to what you may have done before, drive the embers to the room shown in the image below.
You quickly notice that fan blades are preventing you from bringing the embers back to the main room. Wait for the fan to stop operating for a few seconds to release the embers and allow them to pass.
If you don’t get there in time, the embers will disappear and come back to rest on the base.
Once the torches are lit, it is time to complete the crossing of the Temple of Khemenu and conclude in front of an elevator which will take us to the next part: the mausoleum of King Deshret and ” The secret of Al-Ahmar” of which here is the guide.
End of the second part!
This world quest series has 4 distinct parts guiding you through the ruins of the desert. Don’t miss our other related articles!