 by
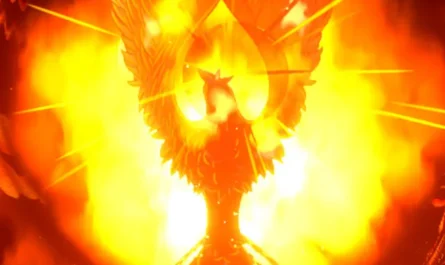
by Today we are going with the guide of Your Fear (or Shadow of the King), a kind of manifestation of Noctis’s fears represented as a Dark version of Noctis in which I think we can see that great power that our character has now lost but that eye… little by little we are improving it and in the end who knows how op we are.
Be careful because this boss does have fabric, I am not saying that the previous ones have been easy, but in this one I have noticed a step of difficulty and of course it is for now the most complicated boss of Aeterna Noctis and without a doubt. In fact, it is the first time that I have returned back to the throne to change my build because he is also a somewhat particular boss.
Let’s not advance things, we go with the guide.
LOCATION OF YOUR FEAR IN AETERNA NOCTIS

We will find the battle against Your Fear at the end of our walk through the Abyss , in the photo above you will see the exact location (marked in red in the photo, it is the far right along the upper path). I’ll tell you a bit about how to go to the Abyss, which is a bit of a mess.
From the second fight against the Devourer , you need to head to the left. You will find a train station, you have to talk to a robot and tell him that you want to go to the West Station. From there you go to the area on the left, it is an area where you will find dragon enemies, because you will have to go down (a good stretch) until you cannot continue going down and from there you go to the right.
HOW TO DEFEAT YOUR FEAR
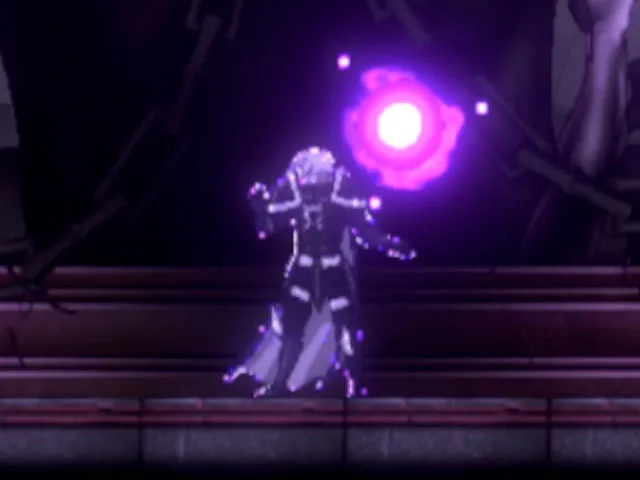
This one is very different since he has a life exactly like us, with the red dots, only he has a huge number of points. He also has attacks like ours (more cheated) and even has the mechanics of healing himself, watch out for that. Let’s go first with his attacks that this boss has no phases.
ATTACK GUIDE
These are the attacks of your Fear:
- Dark Charge : Spikes will appear on the ground (quickly stick to the wall) and start going back and forth from wall to wall with a charge of darkness. You stand on the wall, wait for him to charge (it’s better to position yourself at the bottom of the wall so he can charge from the bottom and you have more space) and go to the other wall (with the crystal arrows, dash, jump in the air and others) without touching the black smoke that leaves because it deals damage. When you reach the other wall, you drop as much as you can and the one that is thrown again as you repeat the process. Don’t even think about hitting him, he survives.
- Deadly Scythe : Your Death will be placed in the center of the screen levitating while a crazy scythe will chase us. You will have to dodge it using the crystal arrows (the teleport) since without this mechanic it will end up catching you. Very key to put the arrow on where the boss is so that when you teleport you can hit him in the air and then you continue to dodge the scythe (and leave another arrow of light there to teleport again, and so on).
- Arrowshooter : The boss will launch arrows at us from a distance while he in turn begins to move around the screen a lot, he will also chase you sometimes and give you a sword blow if he catches you there. When he is far away he tries to hit him with the light arrows, it is hard because he moves a lot, but some will sneak. If he gets close to you you can dodge him by hitting him down in the air to bounce off him, but sometimes he comes so determined that we’ll eat him anyway. The very key Dark Shield here just in case when he gets too close.
- Desolate Leap : Spikes will appear on the walls of the room and after sometimes an attempt to give us a free sword, Your Fear will begin to launch itself against the ground creating an explosion that will travel across the ground upon impact with it in repeated streaks. When it starts with the “jumps” you will have to use the dash to get away from the impact zone followed by a jump, repeating this until it ends. At the end of the streak you hit him with a sword or a light arrow; after this he gets a little angry and will try to hit you with the sword through a teleport (which knowingly is easy to dodge) and will return again with the jumps… we repeat the process until the loop ends.
- Healing : It will push us to the wall and a kind of purple walls will appear with entrances that are moving. He will be in the center trying to heal. You must reach the center (be careful with the walls, you don’t want to take damage) and hit him to stop the healing. Even if you take some time, you see, preventing him from healing twice is hard, but as long as you get closer it’s like he gets nervous and he will only heal once even if you don’t arrive on time.
RECOMMENDED BUILD
This time I have to recommend a very different build than usual because in the end it doesn’t matter how much damage we do because his life works the same as ours and whatever damage you do will take away 1 health point. Also, hitting faster doesn’t work either because, like us, he has an immunity time after receiving a hit (that bothers the fabric).
So the ideal Build this time will be to shoot for the upper central branch , the one that is more focused on improving healing, blood collection and others. Given that the damage you do doesn’t matter, it will be a luxury for you to be able to heal yourself more and better, I noticed a tremendous difference.
RELATED REWARDS AND ACHIEVEMENTS
This is the reward we will get for defeating him:
- Doppelgänger : For defeating him, without further ado.
It probably has more hidden achievements, but this is what I know at the moment.