 by
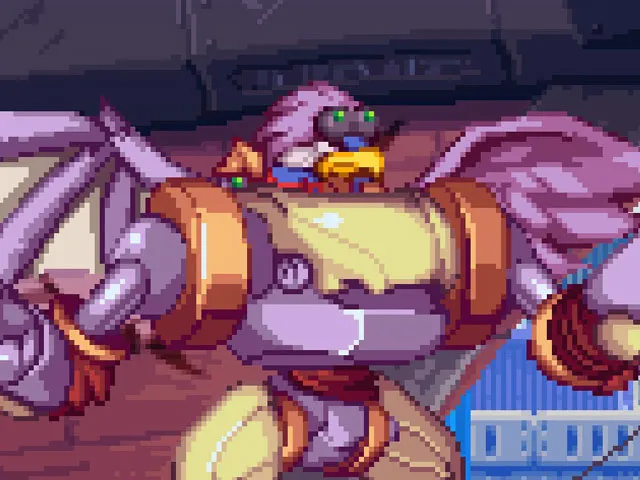
by Captain Birk (Star Trek reference?) is the final boss of the Hover Module area (the part where we help the aliens) and the truth is that once again Souldiers does not disappoint with the bosses because he is very handsome, although I must also say that with Dark Claw (the previous one) they went a bit overboard with the difficulty.
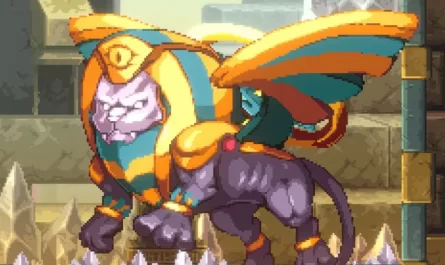
I don’t know how powerful Captain Birk will be by himself, but the fact is that in this fight he will use a kind of fairly large robot that will make him, I understand, even more powerful and we will have to be very careful with him, as ultimately with most of game bosses. Also telling you that he is a boss who moves quite fast, in that sense he reminded me a bit of Dark Ax .
So nothing, we go as always with your guide in detail.
LOCATION OF CAPTAIN BIRK
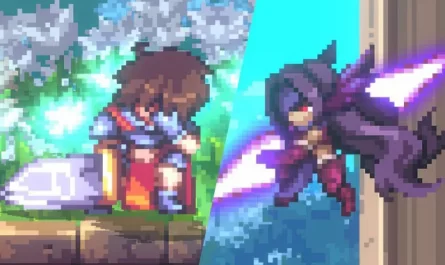
As I have already mentioned, it is the final boss of the Floating Module, before you must defeat Dark Claw and after that a path will open up in the same area and from there it is to advance until you reach the encounter with this boss.
Be careful because when you are close to reaching Captain Birk you will have to overcome a series of fights while locked up that the truth is that they are somewhat complicated, but since you have come this far I can already tell you that you have overcome worse things (damn pyramid).
CAPTAIN BIRK’S ATTACK GUIDE
We will separate the combat into 4 phases, but first comment on a few things:
- It’s weak to sand, so you know.
- It is not as complicated as other bosses, but I still recommend that you go well stocked with potions and others.
- It mainly deals electrical damage, so you can wear an accessory that protects you from it.
- Don’t go after him, it’s better to let him approach you and counterattack him when he touches, I’ll explain that better below.
PHASE 1
Let’s take a look at his attacks:
- Approach and Hit : It will suddenly launch itself towards us and will get in front or behind to immediately give a couple of blows, it is the attack that we will mainly use to counterattack us. As soon as you see it coming, you hit it (it goes so fast that it will eat it) and it gets in front or behind you, you will have to do a dash to get on its back and proceed to attack it. Since it is the first phase, after this it will go away, but as the combat progresses it will begin to make attacks after this.
- Charge : It will stand to one side of the screen and charge an attack, after a while it will charge towards the other wall that you must dodge by jumping (use the wall to bounce, which is better that way). After dodging him, take the opportunity to attack him a little. If he catches you being very close to him, it won’t give you time to reach the other wall to use it to dodge, in that case roll block, it will leave you without resistance, but at least you won’t eat the damage.
PHASE 2
The phase begins when you drop 25% of its health and it acquires the following attacks:
- Yellow Hit : After «Approaching and Hitting», you will see that a yellow aura suddenly comes out of him and after this he will perform an area hit (quite a small area) that you must block (be careful not to turn your back on him, which can happen, in that case turn quickly and block). It will destroy your guard, but it is better to block it than eat it, in my experience I always had it ready for when I did it again. If he hits you with it, he will launch you.
- Red Strike : You can also do it after “Approach and Hit”, this attack you cannot block nor do you want to, as soon as it does, do a dash to get behind it (it is assumed that you will have already done a dash when it approached you to get behind it , because as soon as you see that it turns red you do another one to get behind it again) and hit him for a while, it is the best time to hit him when he does this.
PHASE 3
At 50% health, keep previous attacks and add this one:
- Blue Strike : You can do it after “Approach and Hit” or randomly when you want; it will basically launch an electric blue ball. The idea is the same as always, if you throw it randomly, you dodge the ball and that’s it; if he does after Approach and Hit you get behind and hit him, the ball will go the other way so don’t worry about it.
PHASE 4
When Captain Birk’s health is around 25%, you will see how he will stop for a moment and how he will charge electrical energy. The same, he will keep previous attacks and acquire this one:
- Electric Platform : It will create a kind of electric walls that will move around the screen and you will have to jump to avoid them. It’s a bit like Sans from Undertale when we have to jump higher or lower depending on the bones that come to us.
As usual, save your weapons for this phase so that it falls faster, which is when it will be more dangerous.
REWARDS FOR DEFEATING HIM
Well… this is the section where I usually tell you what rewards the boss will give us, but in reality it will not give us anything, so anyway, an F. I guess the reward itself is to finish the zone? The falcon is a bit rancid, really.