 by
by The “Golden Sleep” world quest series will take you through the desert and discover remnants of the past.
We have arrived at the last quest of this series. If you have not started the Golden Sleep adventure, redirect yourself to the previous quests: “Lost in the Sands” , “Introduction to Indoor Archaeology” and “The Secret of Al -Ahmar” .
This quest will allow you to fully unlock the Khaj-Nisut area, which is blocked by an invisible wall.
Oases and fights
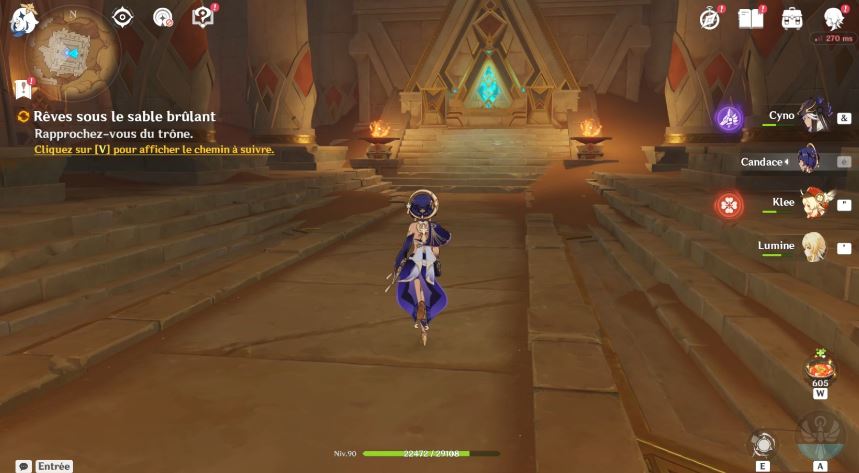
When leaving the Mausoleum, the new quest “Dreams under the Burning Sand” will begin.
Travel to Sobek Oasis to defeat Eremites and discuss a plan with the Archeology team.
Head north to find another oasis where you can rest before heading to Khaj-Nisut.
Search for Khaj-Nisut
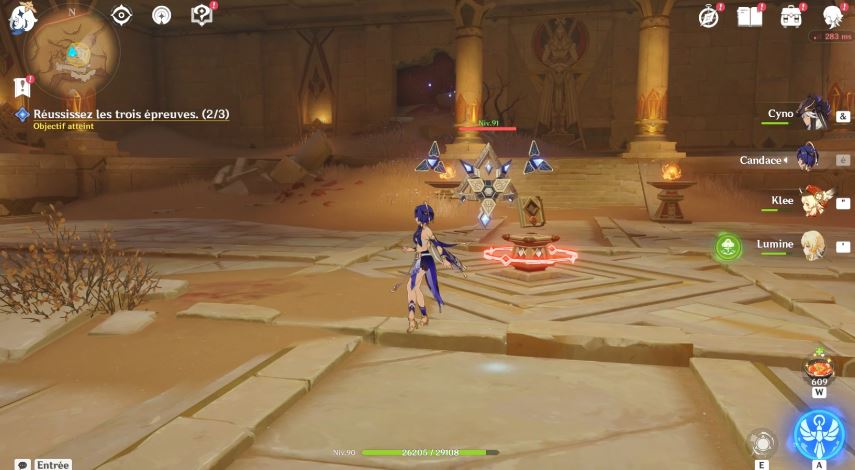
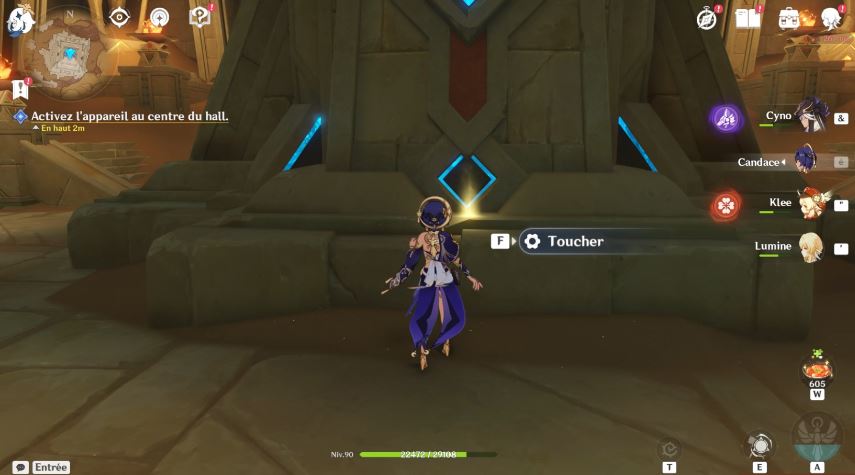
You will now complete 3 trials in order to gain access to Khaj-Nisut.
Let’s start by heading below the camp where there are Eremites and the first trial.
Each test will be presented in the same way: A book to be opened thanks to your special authorization; an unblocked down passage; a path to follow until the second book which will validate the test.
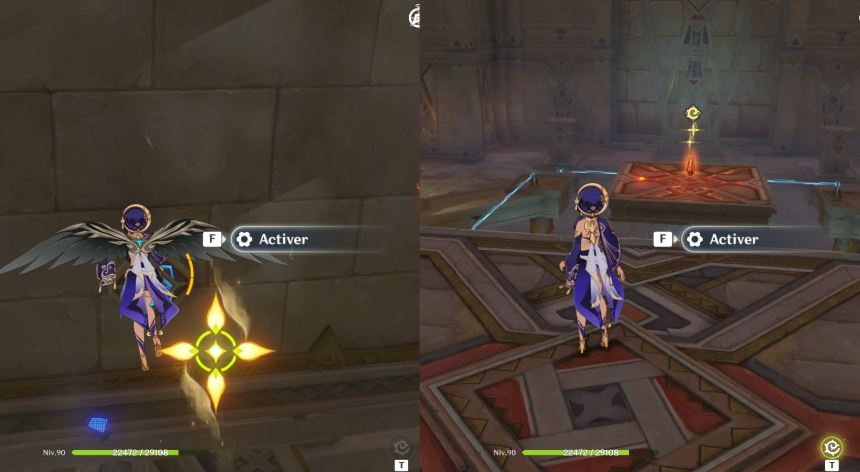
Dive into the hole and directly take the cones on the way in order to make mechanisms appear on the replicating stones.
The first will create a beam while the second will make the wall disappear in order to let this same beam pass and to open the door for you.
Again, after seeing the primal structure beaten, take two cones. One will be in the previous room and the other in the new room.
This time, the mechanism will cause a golden cone to appear above your head. Use it to make the wall reappear at the back, near the door you want to open. You just need to get close to the wall for it to work.
After passing the second door, continue until you have to dive to the lower level.
You will find yourself facing a primal structure and two doors.
In order to open the door on the left, you will need Keystone I. So open the other door and take the contents of the chest in front of you, this will give you the stone plate you were looking for.
Go through the Keystone I door and immediately take the cone on your right.
Continue in the room, activate the replicating stones as well as the mechanism that makes the wall disappear and take the contents of the chest to get your second Keystone.
Return to the first open chest in the area and continue a little further to find the door unlocked by Keystone II.
Proceed as before and use the cone to reveal the mechanism. Thus, make the wall invisible and free up your access to the central room.
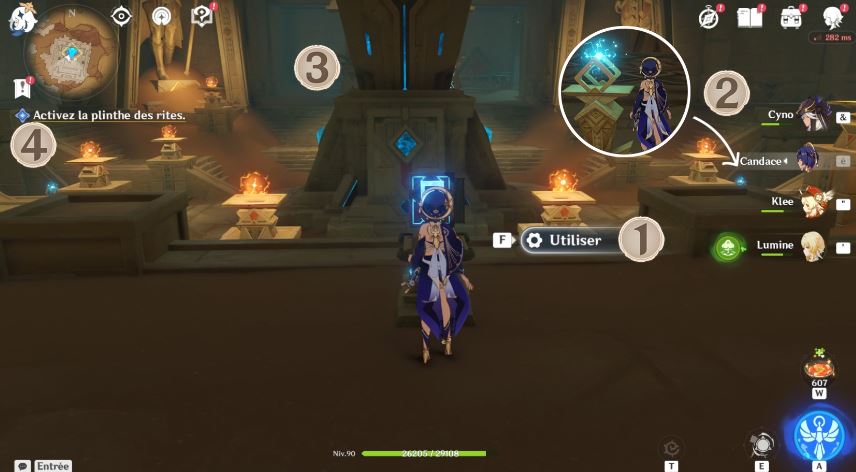
All you have to do is use the book and complete a trial.
Let’s now head to the right of the Khaj-Nisut teleporter. You can use clover badges to go faster.
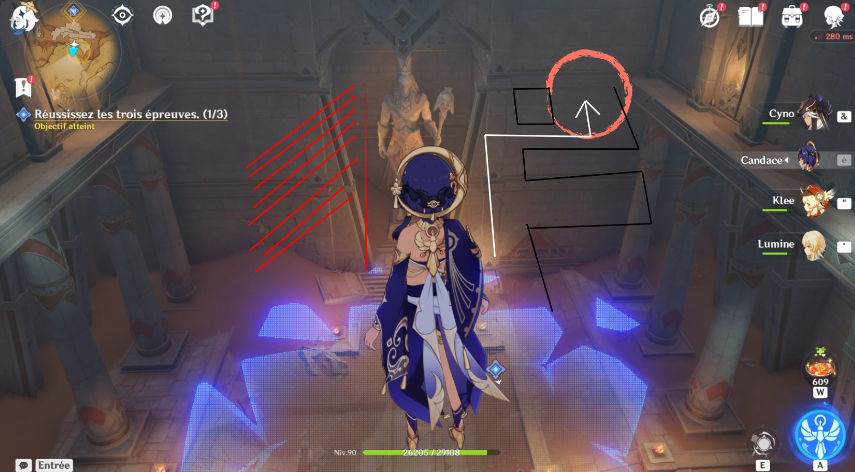
This second test will consist of finding your way through an invisible labyrinth.
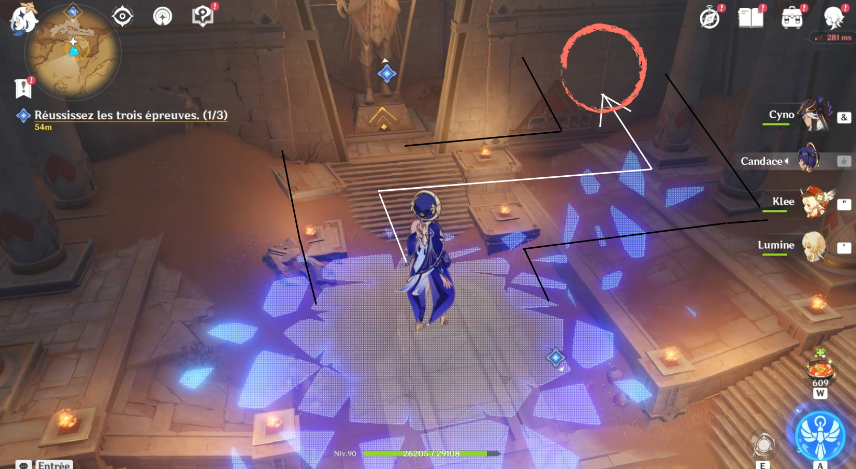
From the point you fell from, head to the opposite right end of the room. Walk along the right wall but do not turn directly right when the wall disappears. Wait until you reach the second bend so you can fall to the lower level.
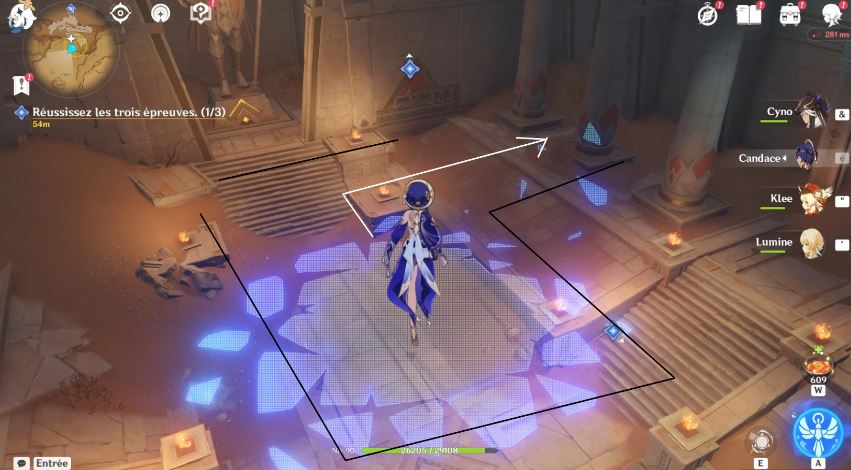
On the lower floor, find your way again to reach the last level before the book.
Again, turn right to get to the bottom and thus complete the test.
Back at the teleporter, take the left path to the final trial.
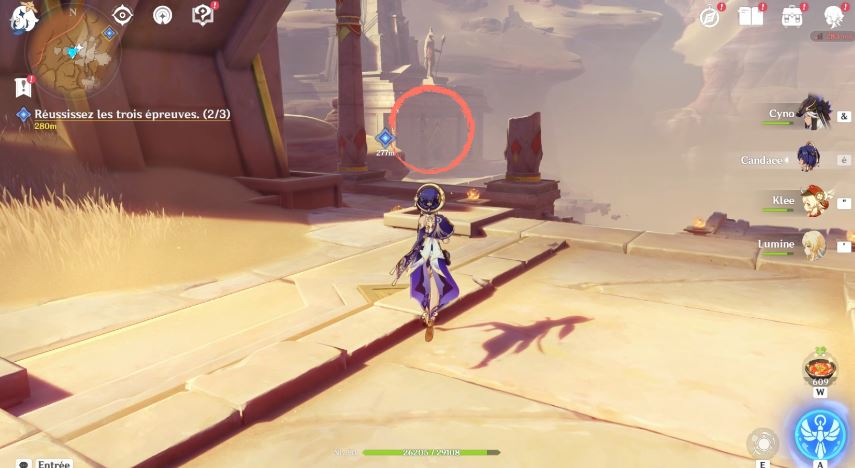
For this third test, take a team suitable for combat since it will consist of overcoming a few monsters on two floors.
Inside Khaj-Nisut
Return to the teleporter and the entrance to Khaj-Nisut in order to interact with the book.
After the appearance of the monument, use the clover badges to reach the entrance.
This will cause a cutscene and Benben’s hasty departure. Follow him to activate the mechanisms and thus access the upper floors.
You find yourself in a room with different books in the four corners.
Activate the first book in front of you then go to different other points to interact with the embers.
You will need to follow them to their torch to unlock the hardcover book.
Regarding the embers in point 3, you will have to be careful since you will be taken to a room with fans. These will cause the ember to disappear if you pass while they are active.
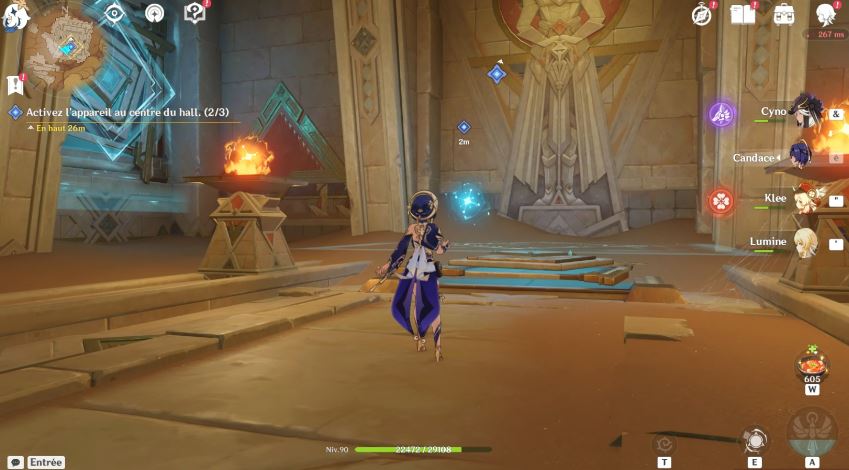
Return to the center of the room with the device and the books to activate this first one.
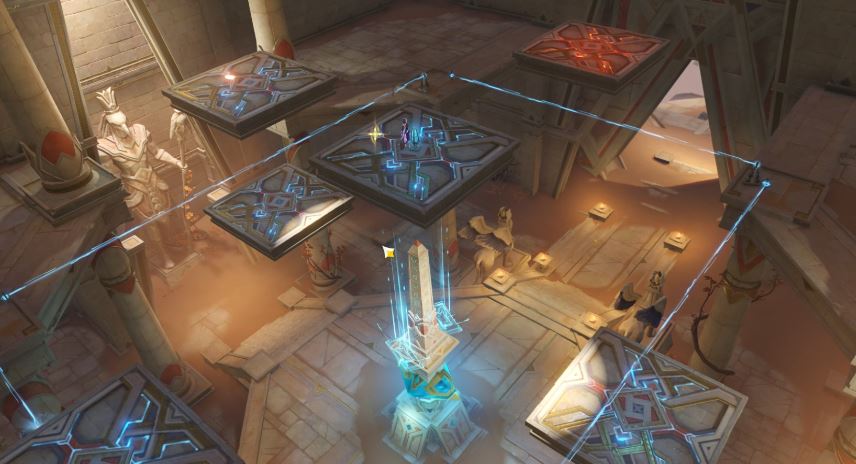
At the entrance to the monument, you will then have unlocked a wind field allowing you to reach high platforms.
As the tutorial will explain to you, the central mechanism will give you the possibility to change the color of two elevators so that you can remove them all from the light beams.
Two of the elevators will not be able to change colors and remain blue for the one at the bottom of the image or red for the one at the top. From then, the elevator on the left is a double elevator. Taking all of that into consideration, here’s what you can do to complete the puzzle:
– Change the color to mostly blue,
– Use the device twice,
– Change to red,
– Use the device one last time.
Then use the badges of clovers to reach the switch against the wall and activate the elevator which will allow you to reach the throne of King Deshret.
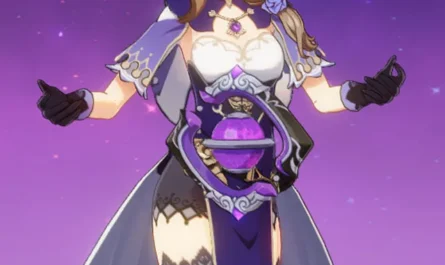
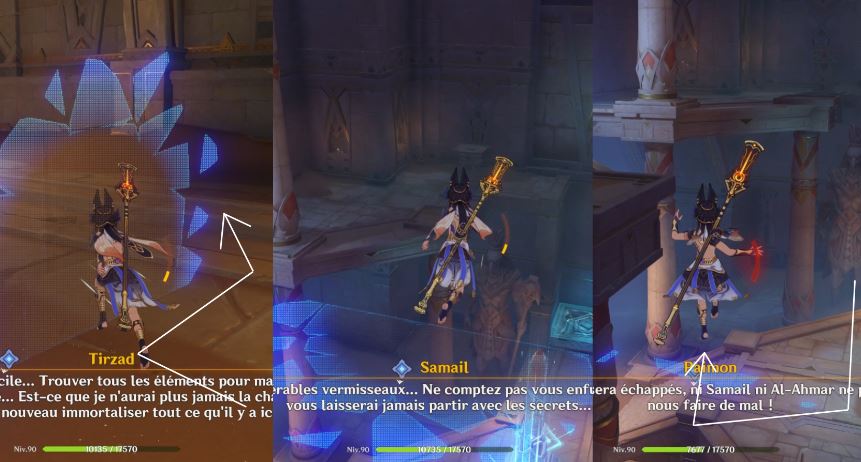
Arrived in front of the throne, watch the unfolding of the plot and overcome some fights in order to progress in the quest.
Your time is running out! After letting your enemy climb on the throne, you will have to flee the scene. Be careful, invisible walls and floors will cut you off.
Go to the right to pass the wall, turn towards the center to go down one floor then do as indicated in the last part of the image in order to finally reach the exit.
All you have to do then is follow the outcome of the story and finally, after returning to Aaru Village, complete the series of quests: “The Golden Sleep”.
That’s it for this quest!
This should allow you to easily access the ruins of the desert and learn a little more about the world of King Deshret’s time.