 by
by A few days after helping the exploration team, you return to the village of Aaru hoping to meet Jehd and the others again. However, you come across a researcher who seems to need your help.
Find out in this guide how to complete the first part of the quest series “Old notes and new friends” .
Note that you must have completed the “The Golden Sleep” questline and wait until the next day in real life for the quest to become available.
Introduction
Once the requirements are met, teleport to the Statue of the Seven in Aaru Village. You will be picked up there by a researcher named Kalantari who seems to want to follow the route of the illustrious Tirzad (this is second degree) to carry out his thesis.
Follow it to the place indicated on the map. Along the way, you meet a former Academy researcher named Solheil.

This one wants to prevent you from starting your research in the ruins, claiming that Tirzad’s thesis is absolutely worthless. Kalantari is convinced to drop out and returns to the Academy.
Go talk to Solheil to try to make him change his mind.

The old man remains stubborn, does not believe a word of what you say and asks you with an excessively haughty air to go and play elsewhere.
While talking with Paimon, you notice that the Stele of Tirzad has a new mark. So you decide to continue looking for evidence in the ruins to save the credibility of your researcher friend.

Reach the Duat Hall
To do this, you must follow the directions on the tablet and head towards the Hall of Douat.
“But how to reach the Hall of Duat?”, you ask me. Well, it’s very simple. First, teleport to the location shown below.

Enter the pyramid. At the end of the corridor are 3 closed doors. Open the 2 side doors using your tablet, then take the path on the right.

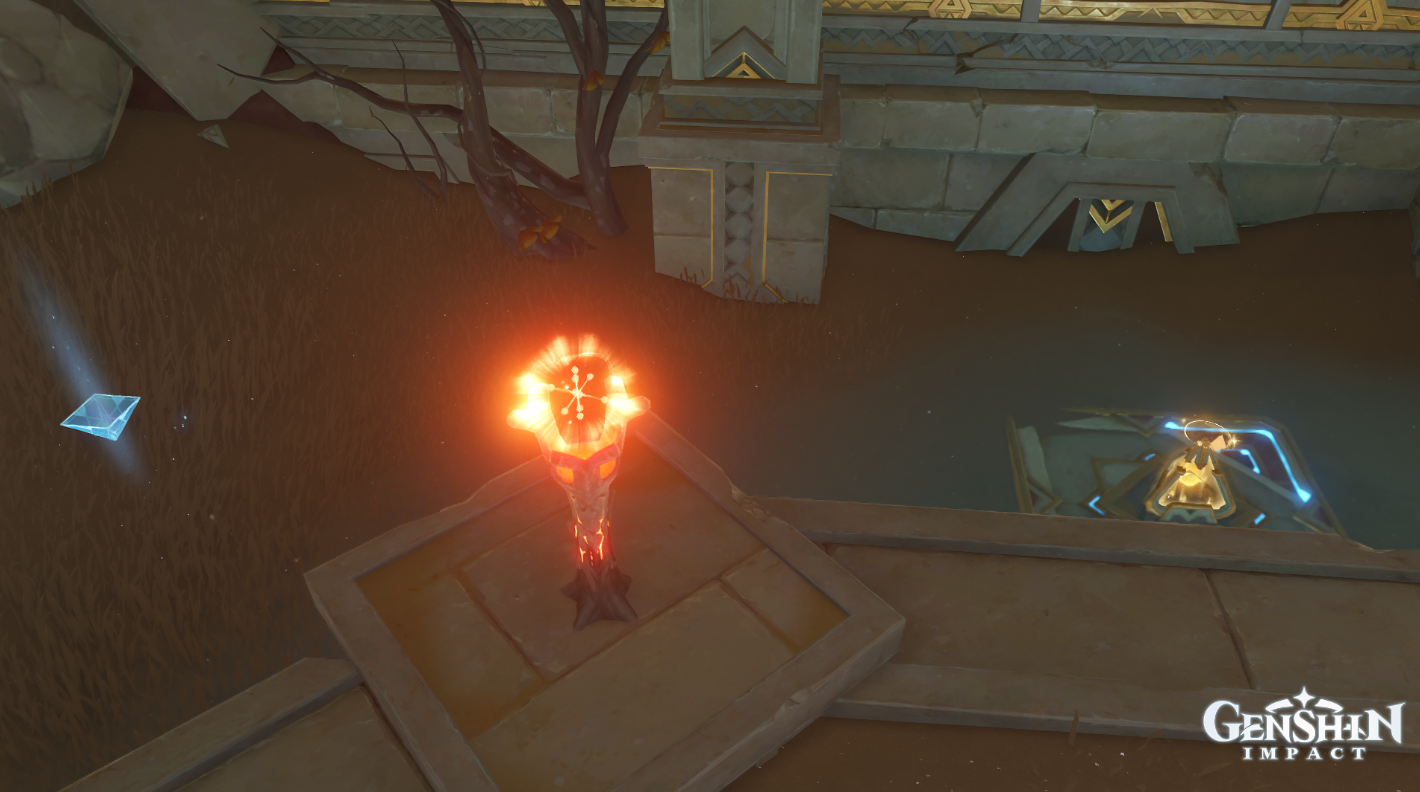
At the end of the corridor is a primordial ember. You guessed it, you have to follow it to bring it to its base, as usual. This done, the central door opens. Cross it and jump into the hole. You fall into a small room whose north wall is destroyed. Go through the hole and drop again.

At the bottom of the hole, eliminate the vermin and head towards the small tunnel located on the northwest side of the room. At the end of the corridor is a huge cave.

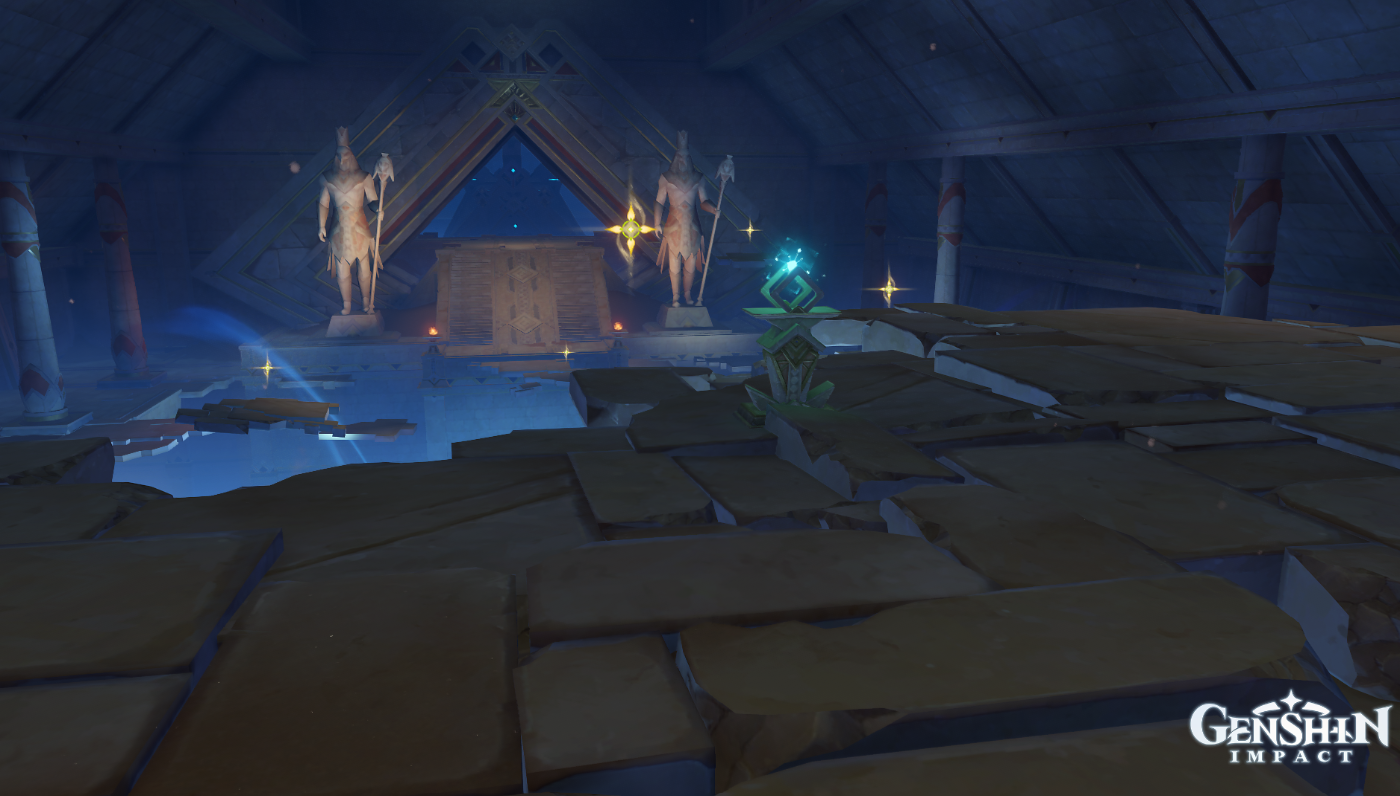
Head to the temple in the back of the cave and enter it. Once inside, climb the stairs on your right to reach a large door that you can now open using your tablet. All that remains is to open it and enter the mysterious temple…

Recover all authorities
You discuss your findings with Paimon and notice that a new clue has appeared on the tablet. He asks you to find the 3 remaining steles used to improve the authority of your tablet.
First stele: place of Renaissance
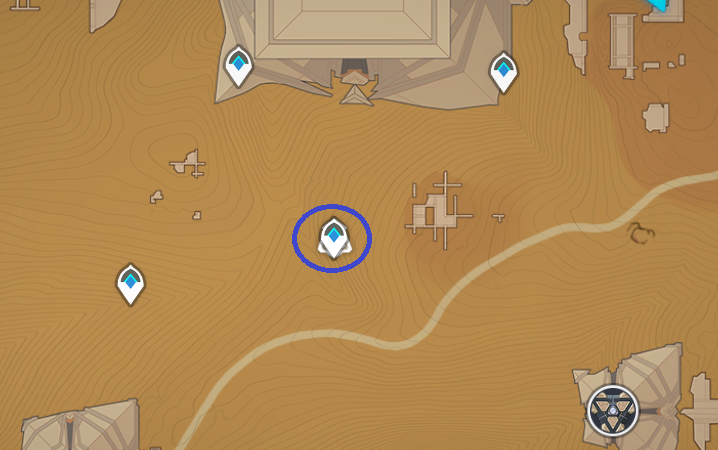
To find the first stele, teleport to the place indicated below.

From there, head back to the temple, use the grappling hook shown below, and drop into the hole.

Once at the bottom, head to the bottom of the small cave to find a small tunnel there that you must go through. At the bottom of the tunnel is, guess what: a hole. Drop again (hole-ception).
At the bottom of the hole is a primordial ember. Bring it to its base located in the room of one of the stelae.
Problem: the room is flooded, which prevents the stele from working. You must therefore find 2 other embers to reactivate the pumps and empty the water.
Take the exit in front of you to arrive in a circular room. You must activate the mechanism at the back of the room to be able to make the invisible torches visible in order to light them and thus release the second ember.
Once the ember is on its base, the water level drops a little. Then head to the exit on your left, then go down the stairs on your right. At the bottom of these, turn right again to arrive in another puzzle room.

For this puzzle, you will have to make the 2 prisms illuminate their crystal, as in the image above. However, after a while, they return to their original position. The trick is to put them both in the middle position (they don’t move if they are in this position), to move one of the 2 to the last position then to run as fast as possible to do the same with the ‘other. By doing this, you will have no problem releasing the last ember and thus obtaining level 2 authority.

Second stele: place of Breathing
Teleport to the location shown below and head into the large room at the end of the hallway.

From there, cross the first door on the left to arrive in front of a door asking for a level 2 authority (that’s good, you have it).

Open it and jump into the hole (definitely they like holes, at HoYoverse). You arrive in a room whose exit door is closed. To open it, break the rock on the left and rotate the central device.

Go through the now open door, head to the hole and drop into it (I feel like I’m rambling, it’s terrible).
Continue your way taking the tunnel on your right. Arrived at the intersection, oblique towards the left to arrive in a large cave.

Take the right path, meticulously obliterating all forms of life. You have to climb uuuuuut up the spiral slope until you see a large door guarded by a Primal Structure: Prospector . Repaint him and go through the door. Cross the hallway by activating the teleportation point.
You arrive in a large room (for once it’s not a hole). Ignore the ember and head for the circled door below.

In the room, take the left exit, head to the ember and drop into the hole on your right (don’t do like me and leave without activating the ember).
At the bottom, turn left, activate the trapped slab on your left, and then drop down again.
Do not activate the embers right away: in the next room there is a huge fan that you must deactivate first. That done, activate the ember and continue.
In the next room, step on the trap slab on the right and drop down.
At the bottom, turn left, defeat the 2 enemies, a 2nd ember will join you. Guide them to the staircase, but instead of following them, cross the closed door, then take the elevator on your right which will take you directly to the 3rd ember required to activate the 2nd stele.

Follow your 3 household embers to get (finally) level 3 authority.
Last stele: place of eating
To get the final stele, head to the location shown below.
Once at the Douat Hall, look to your left to find the first ember as shown below. Follow it to the stele, taking good care of the fans.

Teleport back to the entrance of the Hall, then take care of the ember located this time on the right.

Follow it, in turn, to the stele, taking care of the fan.
Repeat the operation with the ember in the middle to finally obtain the last level of authority and thus obtain the achievement “The march of the people of King Deshret”.

The Great Hall of Truths
It’s time to enter the unfathomable depths of King Deshret’s mausoleum!
Teleport again to the entrance of the Duat Hall and cross the room to reach the large door in front of you.

At Paimon’s request, approach the strange machine in the center of the room.
It seems deactivated: it’s up to you to turn it back on. To do this, use your authority to activate the 4 pillars that are around.

The 4 pillars activated, the door to the end of your desert journey opens.

Arrived in the next room, you obtain the success “The straight path”.
You must now go to the 3 points indicated by the map and at each location, guide an Ember. Take care! The place is well guarded, because the King of the desert does not leave his secrets to the first comer!
Once the 3 embers are in place, head to the indicated location to be teleported to Aaru.
The end of the journey
It seems that you have arrived at the last stage of your journey: in front of you is the last obstacle.
Defeat him.

Once defeated, the sandstorm subsides, granting you the Path to Enlightenment achievement.
Collect the contents of the chest located not far from you to obtain the Clos d’Aaru Registry .
Bring this one back to Sohleil to beat the caquais to this senile old man!
Epilogue
In view of all the evidence you bring, Sohleil is forced to believe you and therefore stops discrediting poor Tirzad (he even starts licking your boots).

This is how the (very) long quest “Old Notes and New Friends – 1: Double Evidence” ends .
