Most of our gadgets need a little love every now and then in the form of a cleaning and tidying. The keyboard is clearly the most exposed part of a computer setup and therefore we will in this guide go through how to best clean a keyboard and clean so that it almost feels like new.
Before you start cleaning
Start by disconnecting the keyboard from the computer if it is wired or turning it off if it is wireless. If you plan to clean the keyboard near the computer, turn off and unplug the computer as well to protect it. However, we recommend that you take the keyboard to another location for cleaning.
We would also like to add that all the steps in this guide also work really well for cleaning keyboards on laptops.
If you are cleaning a mechanical keyboard
If your keyboard is mechanical, you can start by removing all the keys before proceeding with the first step, as it is easy to remove keys on these keyboards. NOTE take a picture on the keyboard before removing the keys, so you know where everyone should sit next!
Then place the keys in a bowl of water and detergent and wash them by gently scrubbing with your hands or using a toothbrush. It is also possible to use hand soap or green soap. However, do not use strong agents as it may damage the keys.
Then allow the keys to dry thoroughly before turning them on again.
1. Hold the keyboard up and down
The first step is simple! By holding the keyboard upside down and shaking lightly, the coarsest dirt usually comes out, such as hairs, dust and crumbs from bread, chips or other goodies you have had in front of the computer.
Hold the keyboard at different angles and tap a little gently on the bottom to help. Remember to pour the dirt in a place where you can easily vacuum and clean it.
2. Blow out dirt and dust
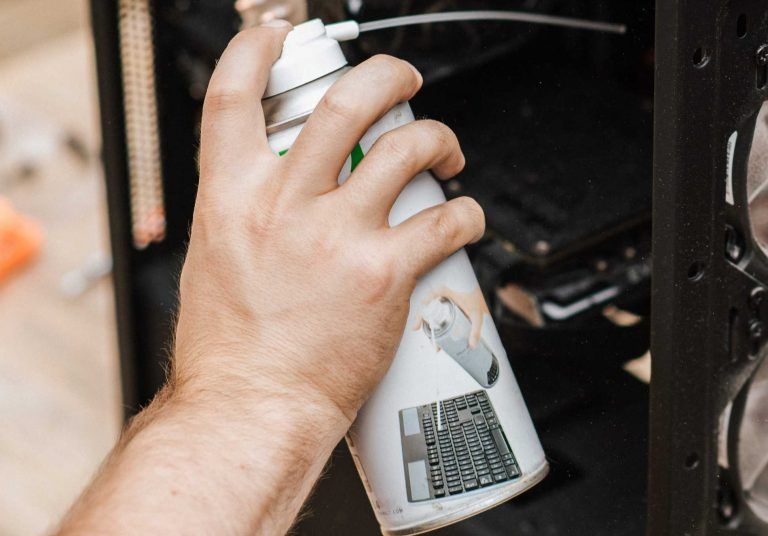
All dirt will not fall out by holding the keyboard upside down, so for the next step we recommend using canned compressed air , which is a very convenient thing to have at home. It works great for cleaning technical gadgets that collect dust such as laptops , desktops , game consoles and TVs .
When you blow out the keyboard, we recommend that you do it outdoors or in a bath / shower , as it can fly around some dirt that you do not want to have spread everywhere.
3. Get out the last stubborn dirt
This step is to get the last and most stubborn dirt out of the keyboard, which not even the compressed air can handle. There are a few different aids for this, such as:
- Slime / gel – Used to clean tight spaces as it can be easily accessed thanks to its shape. It slides down between the keys, the dirt gets stuck and hangs up.
- Mini vacuum cleaner – With a mini-vacuum cleaner that has a small brush in the nozzle, you can access between the keys and can vacuum up the last thing left.
- Toothbrush – An ordinary toothbrush can also work to get rid of the last dirt and then pour it out.
4. Disinfect between keys

So, now that all the dust, breadcrumbs and hairs are out and it’s time to thoroughly clean and disinfect to get rid of grease, oil and the like.
For electronic gadgets, isopropyl alcohol is perfect for disinfecting as it is effective and dries within a few minutes . To clean between the keys, just put a top with isopropyl alcohol on and then pull between the keys. Repeat this a few times if it is very dirty.
5. Disinfect and wipe the keys

If you have a mechanical keyboard and removed the keys according to our advice at the beginning of the guide, you can put them back before this step is done.
To disinfect the keys , apply a microfiber cloth , paper or similar with isopropyl alcohol . Then gently pull over the keyboard and all keys to remove oil and grease from the keys.
6. Maintenance cleaning
To keep the keyboard fresh between cleaning times, we recommend maintenance cleaning by cleaning the keys from time to time with cleaning wipes .
