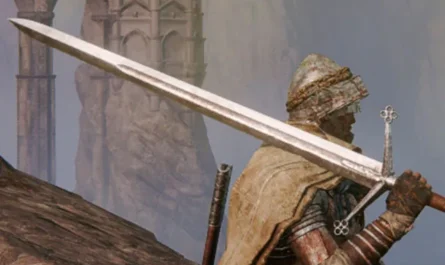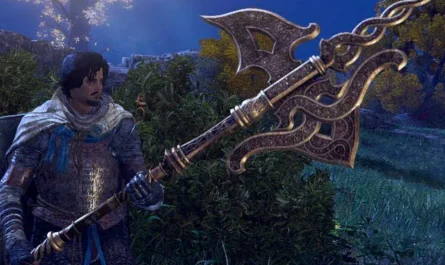
 by
by If you like boss fights in Elden Ring , the suggestive video game developed by FromSoftware , you will have bread for your teeth as you will meet several of them, and in this guide we will tell you about all the bosses encountered so far in the Sepulcride area , but above all we will show you the best tactics to defeat them .
The bosses of Elden Ring use different tactics , they hit as hard as they can, they promptly repel your shots, they throw everything at you and above all they will give you a lot of blows, so it will be essential to use the best strategies to be able to take them down by bringing home the skin. In general , the spells help a lot because they hit the target effectively while keeping you at a safe distance, but if you want to get them out of the way in the shortest possible time you will have to face the melee and stock up on potions.
ATTENTION: We remind you that this guide dedicated to the Elden Ring bosses contains spoilers, continue at your own risk.
Before continuing, we thank Powerpyx , the portal that has also provided the public with the videos of the bossfights, in order to also give visual clues to the players.
What are the bosses in Elden Ring in Sepulcride? Here is the guide
In the guide that follows, we will go to discover all the Bosses present in the vast area of Sepulcride (includes Sepulcride East and Sepulcride West, including the Castle of Storm Storm ), and we will show you where you can find them. Since Elden Ring is a widely open world game, and you can choose where to go right away, there is no fixed progression, and consequently we will propose them based on the areas you will more or less encounter before and after, leaving you the bosses of the story. as a final course.
Chapel of the Waiting
Grafted Heir – Very Hard (Easy when you come back)
Small bonus in the guide concerns the first boss of Elden Ring , the one we will face as soon as we wake up, apparently impossible to beat on this occasion. This boss is the one from the tutorial in the prologue so it means that you will have a very low level and you will not have any potions with you. The ideal would be to hit him with the arrows keeping you at a distance and then run forward and make him send his blank shot, then turn around, hit and run away.
It is a really difficult boss to kill during the tutorial, but you can face it much later, (recommended level at least 60) by passing through one of the three portals of the Quattro Campanili in the Liurnia Lacustre area.
Video of the boss fight at this link , 3 0re, 9 minutes and 30 seconds .
Sepulchrid
Tree Sentinel – Difficult
It is located in Sepolcride, on the patrol between The First Pass and the Church of Elleh. It is a knight who deflects magic with the shield, and to face him it would be preferable to have the level at least at 35 , and since he is on horseback, you too should use the horse to counter him better, approaching to attack it and running away. You can use the surrounding terrain to have some of his attacks blocked, and free areas to run and not get stuck. If you decide to use the magic instead, don’t abuse it, otherwise he will repel it with his shield and send it back to you.
The rewards for the victory will be his halberd and 3200 runes .
Farum Azula’s Human Beast – Very easy
It is found in Sepolcride, in the small dungeon of Latibosco’s Cave . This boss executes the sword attacks with simple ones, and one of chained blows: wait for the combo to finish (avoiding it) to hit him. Repeat several times for an effortless victory.
The reward consists of the Fire Dragon Talisman (gives you resistance to fire damage) and 700 Runes .
Sepulchral Guardian of the Mother Tree – Easy
It is located in Sepolcride, in the Catacombs of Passo Tempesta . This boss will use an attack from above and at that moment you can only run back, but wait for the attack to finish to hit him as much as you can. For this boss it is also preferable to use magic, which will keep you at a distance. Pay close attention to the fire attacks, which will follow you even if you turn in circles, however if you are at a safe distance and have a bow, you can use this moment to attack with arrows (or always magic).
The rewards will be the Ashes of the Noble Sorcerer and 1200 Runes .
Semi-human Head – Medium
It is found in Sepolcride, in the Coastal Cavern . This boss is protected by his henchmen, and they won’t be few. The fight will see you both wiping out the little ones and fighting two semi-human leaders. Area-hitting spells might be a good way to clean up while at a distance. Pay attention to their attacks, especially the heavy blow, after which you can take the opportunity to attack melee and take away a fair amount of health from the enemy on duty. At the entrance to the boss area it will also be possible to summon a helper if you find yourself in trouble.
The reward for you are the Tailoring Tools , the Sewing Needle and 675 runes .
Crazy Pumpkin Head – Very Easy
It is found in Sepolcride, in the Crumbling Cell of the Ruined Rest Point . This boss is not too dangerous. You will easily beat him if you dodge his attacks by jumping backwards and even when he does his combo he will be easily controllable. He doesn’t have a great attack range, you can also stay at medium range. Remember that the head is armored, it would be better to hit it on the rest of the body to do more damage.
As a reward you will unlock the Sorcery Merchant of the Ruined Rest Point (just behind the door) and 800 Runes .
Stone Digger Troll – Easy
It is found in Sepolcride, in the Tombs Galleries . Enter the cave up to the elevator which will take you to another cave with another elevator to go straight in front of the boss. The space around you is small and dodging him is not easy, and he hits hard, however his attacks are slow and he has low health. Beware of his attack range. If you can get close enough and take the right time, you can make some loaded attacks on the legs : it will take two to make him fall to the ground, so you can also make a critical attack to the head . You can repeat the operation several times to kill him.
The reward for the effort will be the Roaring Medallion, accompanied by 1800 Runes .
Night Rider – Easy
It is located in Sepulcris. Proceed up the cobblestone road from the Sepulchrid telescope to the bridge and you will find the first night knight there. (ATTENTION, It only appears at NIGHT , speed up time from a grace point before going there). He is a knight not too difficult to defeat in this case, but annoying like all bosses on horseback. You will meet Night Knights several times during your adventure, and each time in a different place , with a different weapon .
This night knight carries a long halberd with him , but if you’ve trained against the Tree Sentinel, this boss will be very simple. If you fight on horseback you could try to face him like in a carousel, trying to hit him and then moving away quickly. If you want to keep your distance, hitting him with magic won’t be too complicated, but killing him with melee weapons could be more hasty. Although he is on horseback, we could advise melee players to fight on the ground, especially if you have a shield that blocks 100% of physical attacks. His attacks are fairly predictable, and the jump attack easily avoidable. If you kill his horse first , he will fall to the ground, and you can perform acritical attack , executing him.
Your reward will be War Ash: Repeated Lunge and Runes.
For the video of the fight, go to this link , at zero hours , 16 minutes and 16 seconds .
Cavalier limiere Darriwil – Medium
It is found in Sepolcride in the eternal galley of the brisk limiere .
Dodge his combos and hit repeatedly. This is a fairly quick enemy, avoid spells that require a long cast. Wait for his combos to finish to have a decent window to attack. If you face him after reaching level 35, the damage you will inflict on him will be good.
The reward is the Limiere’s Fang weapon and 1400 Runes .
Crucible Knight – Difficult
It is located in Sepolcride, in the Eternal Galley of Colle Tempesta . This boss is a human knight, and you have to be very careful, especially if you will face him during the first hours of the game (we recommend that you face him when you are beyond the thirtieth level , and with at least 7 ampoules available). This is probably the most difficult Elden Ring boss in Sepulcride that we will find in the guide.
This will repel all your shield hits, and for this reason using long-cast spells is not a winning strategy. The best solution is to close the gaps , watch out for his attacks, and dodge (if you try to parry them you will lose a lot of stamina). Some combos are longer than others, so be careful. Each time he finishes a series of attacks, you will have a window to hit him.
Be careful, because when you take a little less than half of his life, the second phase will start , which will add to his attacks also a hit with an ethereal tail, and a swoop hit with ethereal wings. These too must be avoided. When he is less than a third of life, these ether attacks will also be more powerful, and the tail will go a long way. Keep your distance more at this stage. If you fight hand-to-hand, try to beat him one hit at a time and always be ready to dodge. From the second stage onwards, almost every swing of his sword is followed by a swipe of the tail, so be prepared to dodge twice and then hit him .
The reward for the effort is however related to the effort: you will receive the Shape of the Crucible: Tail and 1800 Runes .
Bird of Death – Easy
It is located in Sepolcride, and you can reach it from the Warrior Master’s Hut , proceeding towards the great ruin to the east / south-east from there, near where the “patrol” giants are (ATTENTION, Appears only at NIGHT , speed up the time from a grace point before going there). This is the second night boss we meet in the Elden Ring guide .
Its appearance is that of a large bird with a stick, with fairly slow movements. It only makes melee attacks, so a good tactic can be to use the horse , in combo with ranged spells . Beware of jump attacks that can shorten the distance and hit you by surprise. If you are not riding Torrente, arm yourself with a good shield with maximum physical resistance, block the attacks and hit it hard. In short, a boss who won’t give you too many problems.
Reward for you the Talisman Branched Sword with the Blue Feather .
Patches – Easy
It is found in Sepolcride, in the Cavern of Whitewater . After completing the dungeon (if you have triggered the sound traps and lost life or ampoules, we advise you to finish the exploration and then return to the Grace and reload the area), you will find yourself facing the fog of the boss. When you go through it, go to the chest and open it, and Patches will appear. The return of this old acquaintance tastes quite sweet, as it is one of the easiest bosses to defeat in the game.
As usual, infamous shield and attacks, but nothing irresistible. When you reduce his life to less than half, which you will do very easily, he will give up right away… as always. After he surrenders, you can talk to him and decide to forgive him, or not . Be lenient and you will see him apologize and declare that he will later open a shop.
Reward earned, Golden Rune [1] X2 , the Begging for Mercy gesture, and 400 Runes .
Dueling Tomb Guard – Easy
It is found in Sepolcride, in the Catacombs of Aquafosca . In this fight you may need a summon to help, such as lone wolves (here is the guide to summons and how to unlock them).
While the weapon is visually effective, it does not actually cause excessive damage, as it is short-range and easily dodged. Watch out for his attacks, especially once he activates Rage Mode and deals more damage. Attacking him with spells and sorceries by taking the right time could be a good strategy, especially in combos with invocations.
The reward consists of the Warhammer and 1600 Runes . With Patch 1.03 it seems that the Ashes of Engvall, Knight Exile are obtained .
Flying Dragon Agheel – Medium
It is located in Sepulcris, in the center of Lake Agheel , just above the Dragon Incinerated Ruins . The enemy will not be immediately visible, it will spawn when you get close to his area.
To have an easy life, it would be preferable to face it when you are at least at level 50 and you have 8 potions available, but if you exploit the horse , you will have a little patience and you will be attentive to its attacks, you can get away with it even in the early stages of the game. Hitting your head is not recommended as it will bite you, and if it spits fire it could kill you with a single blow. You can hit the head with good results if you use magic instead. The best tactic, if you approach it at first, is to be very mobile on horseback, go under him when he takes off to avoid attacks from above or flames, and then attack him melee on the wings or from behind. Make a lot of use of the phase where he breathes fire while he is on the ground to go around and hit him from behind with free attacks.
The reward you will get is a Heart of the Dragon and 5,000 Runes .
Tibial sailor – Very easy
It is found in Sepolcride, in the Village of Hydrocanto. One of the simplest boxwoods in the game, especially if you explore East Sepulchrid after leveling up quite a bit in the opening bars. It is about a sailor who sails in the shallow water of the village, summoning skeletons and teleporting himself to the various areas of the map. However, his movements are very slow, as are the summons (almost to be able to ignore the skeletons). The only attack that could possibly bother you is when he creates a column of water for and is elevated, then trying to crush you. In any case, he has a low defense, if you attack him melee you will inflict considerable damage, even ignoring the skeletons that can even be hit by the sailor himself. If you take advantage of invocations and horse, you will have unparalleled advantages. A health walk.
Your reward will be the Deadly Root , accompanied by the Ashes of Skeletal Soldiers and 2400 runes .
Guardian Golem – Very Easy
It is found in Sepolcride, in the Cave of the main road . The most inconvenient part will be reaching the boss, who will be in a cave hidden behind the waterfall in the deepest part of the dungeon (on the water, on the pond). The boss is a stone guardian like some you have probably faced in the game, either in the plateau plain just above the dungeon, or on the bridge leading to the Divine Tower of Sepolcride.
If you are fast, you can finish the fight in 6 shots : as soon as you pass the golden mist, run towards the giant , still lying and about to get up. Hit him with a charged attack on one foot, and then the same thing on the other (even if he has not finished getting up): the Golem will be stunned and will fall sideways, exposing the live part on the chest to make a critical attack, which if performed it will take about half of his life (if you are around level 35). While he is about to get up , repeat the action , and he will die without even getting your cloak dirty.
If you are a wizard the situation is slightly more complicated, as you may have to keep your distance, and some Golem attacks are long range. Spam short, persistent attacks at a distance on the legs to make him collapse as soon as possible, and get help with invocations.
Kill him and you will get the Blue Dancer Amulet and 1600 runes as a reward .
Killer of Black Knives – Very Easy
It is found in Sepolcride, in the deadly Catacombs .
This boss already starts with a little less life, which will make the battle very easy. If you are wizards, take advantage of the invocation of the wolves and spam magic from a distance, although he will be able to dodge a few hits.
For the more daring who will attack melee, it will be enough to be quick in dodging the attacks, and in case you are able to carry out attacks from behind. With a good dose of parries, counterattacks, and the usual old dodges, you won’t have too much trouble defeating her, also because she has a small amount of health).
Once defeated, you will get the Crimson Dagger of the Assassin amulet and 1600 runes .
Ashen Globe Hunter – Medium / Hard
It is located in Sepolcride, and spawns inside the Warrior Master’s Hut (ATTENTION, Appears only at NIGHT , speed up the time from a grace point, talk to Bernahl in the hut, then travel to another point on the map, and return back to the hut). This is the third night boss we meet in the Elden ring guide . This is not a boss to be taken lightly, and it is exaggeratedly complicated to take down in the early game, so it is recommended to return at a later time, perhaps once you have reached level 45 or more .
If you have sorcery at your disposal, you could use the distance and the horse a lot , as medium and long range attacks with the telepathic sword are devastating , and you will need to evade them. Be careful when he will call the sword to him, even then he can inflict damage on you. If you are devoted almost exclusively to melee, you may even need a dozen additional levels.
We point out that if you die, trying to fight again requires the same procedure to make it spawn again, so it is a bit tedious, try to go there when you are already prepared enough.
The reward for this complicated boss is the Walking Orb of Bones and 2700 runes .
(BOSS HISTORY and TROPHY ) Margit, the Relentless Omen – Medium / Difficult
It is located in Sepolcride, and enter its area from the Gallery for the Castle . This is in order of the first boss in the story you will encounter. The first boss in Elden Ring history to appear in the guide. We recommend that you play it from level 25 and up .
This boss turns out to be a real “entrance test” for players, as he can attack you in many different ways, both at a distance and hand-to-hand. Taking a few tries to learn his attack patterns might be wise, as well as exploiting dodges at the right time (and ending up close to him) to take advantage of melee attacks, no more than a couple, because he will then react. If you are at a distance, after a few seconds he will probably throw the daggers of light at you (dodge them) or jump at you (you can use the dodge to go towards him and hit him again, since it will take a couple of seconds to get up).
Hammer attacks in the second stage (which unlocks as soon as he has lost nearly half his life) can do a lot of damage, so it might be wise to keep your distance and try some magic attacks on this occasion. Also take advantage of invocations, such as lone wolves or soldiers, which can offer balance between ranged and melee attacks.
If you are a wizard, it may also be useful to summon the Sorcerer, perhaps to a point near a wall, so that Margit focuses on him by providing you with free ranged attacks.
IMPORTANT: you can make your life easier for a few moments, if you buy a specific item from Patches , after he has opened his shop (at first, always in the cave where you defeated him): this will create a magic that will chain Margit to the ground , allowing you to hit it while it lasts.
The reward consists of a Talisman Bag (which will allow you to equip an additional one ) and 6000 Runes .
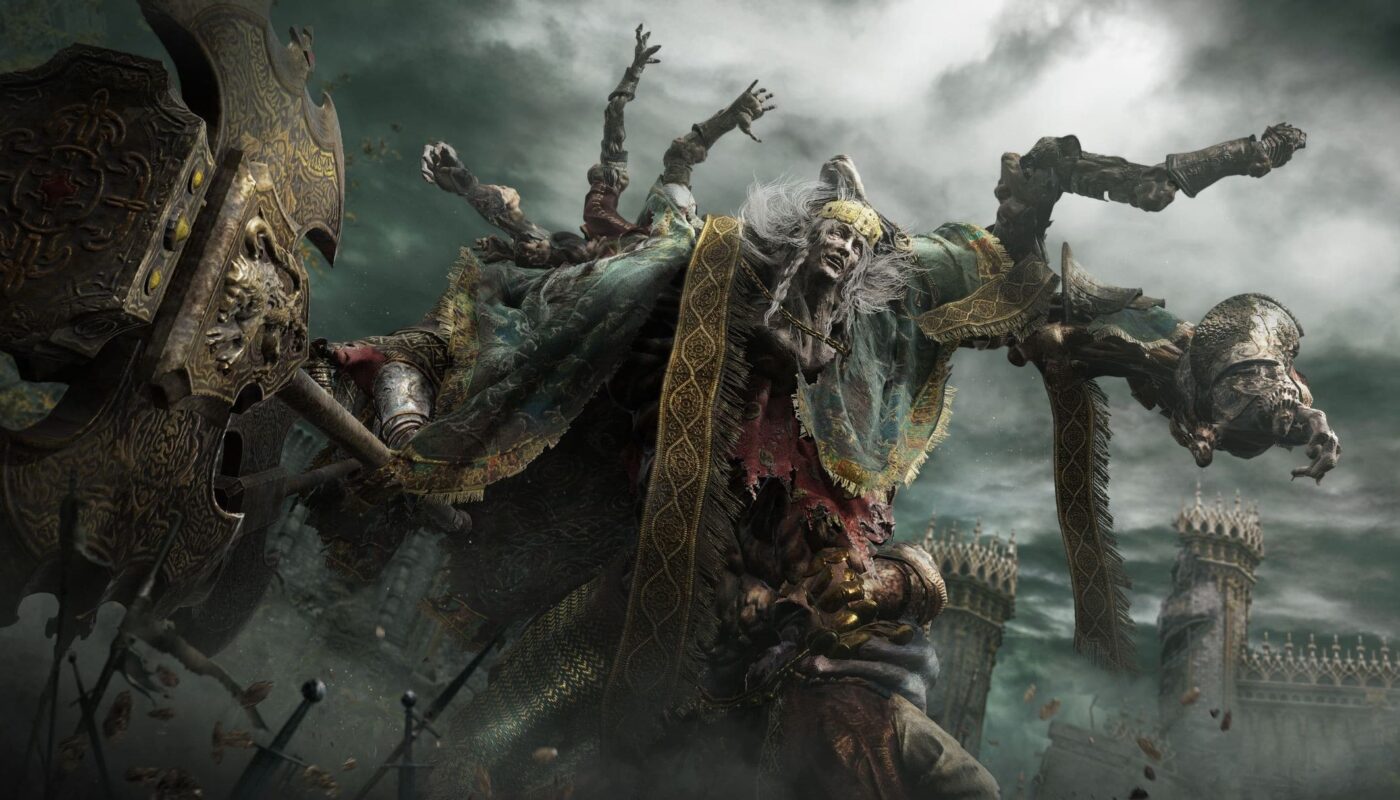
(BOSS HISTORY and TROPHY) Godrick the Grafted – Difficult
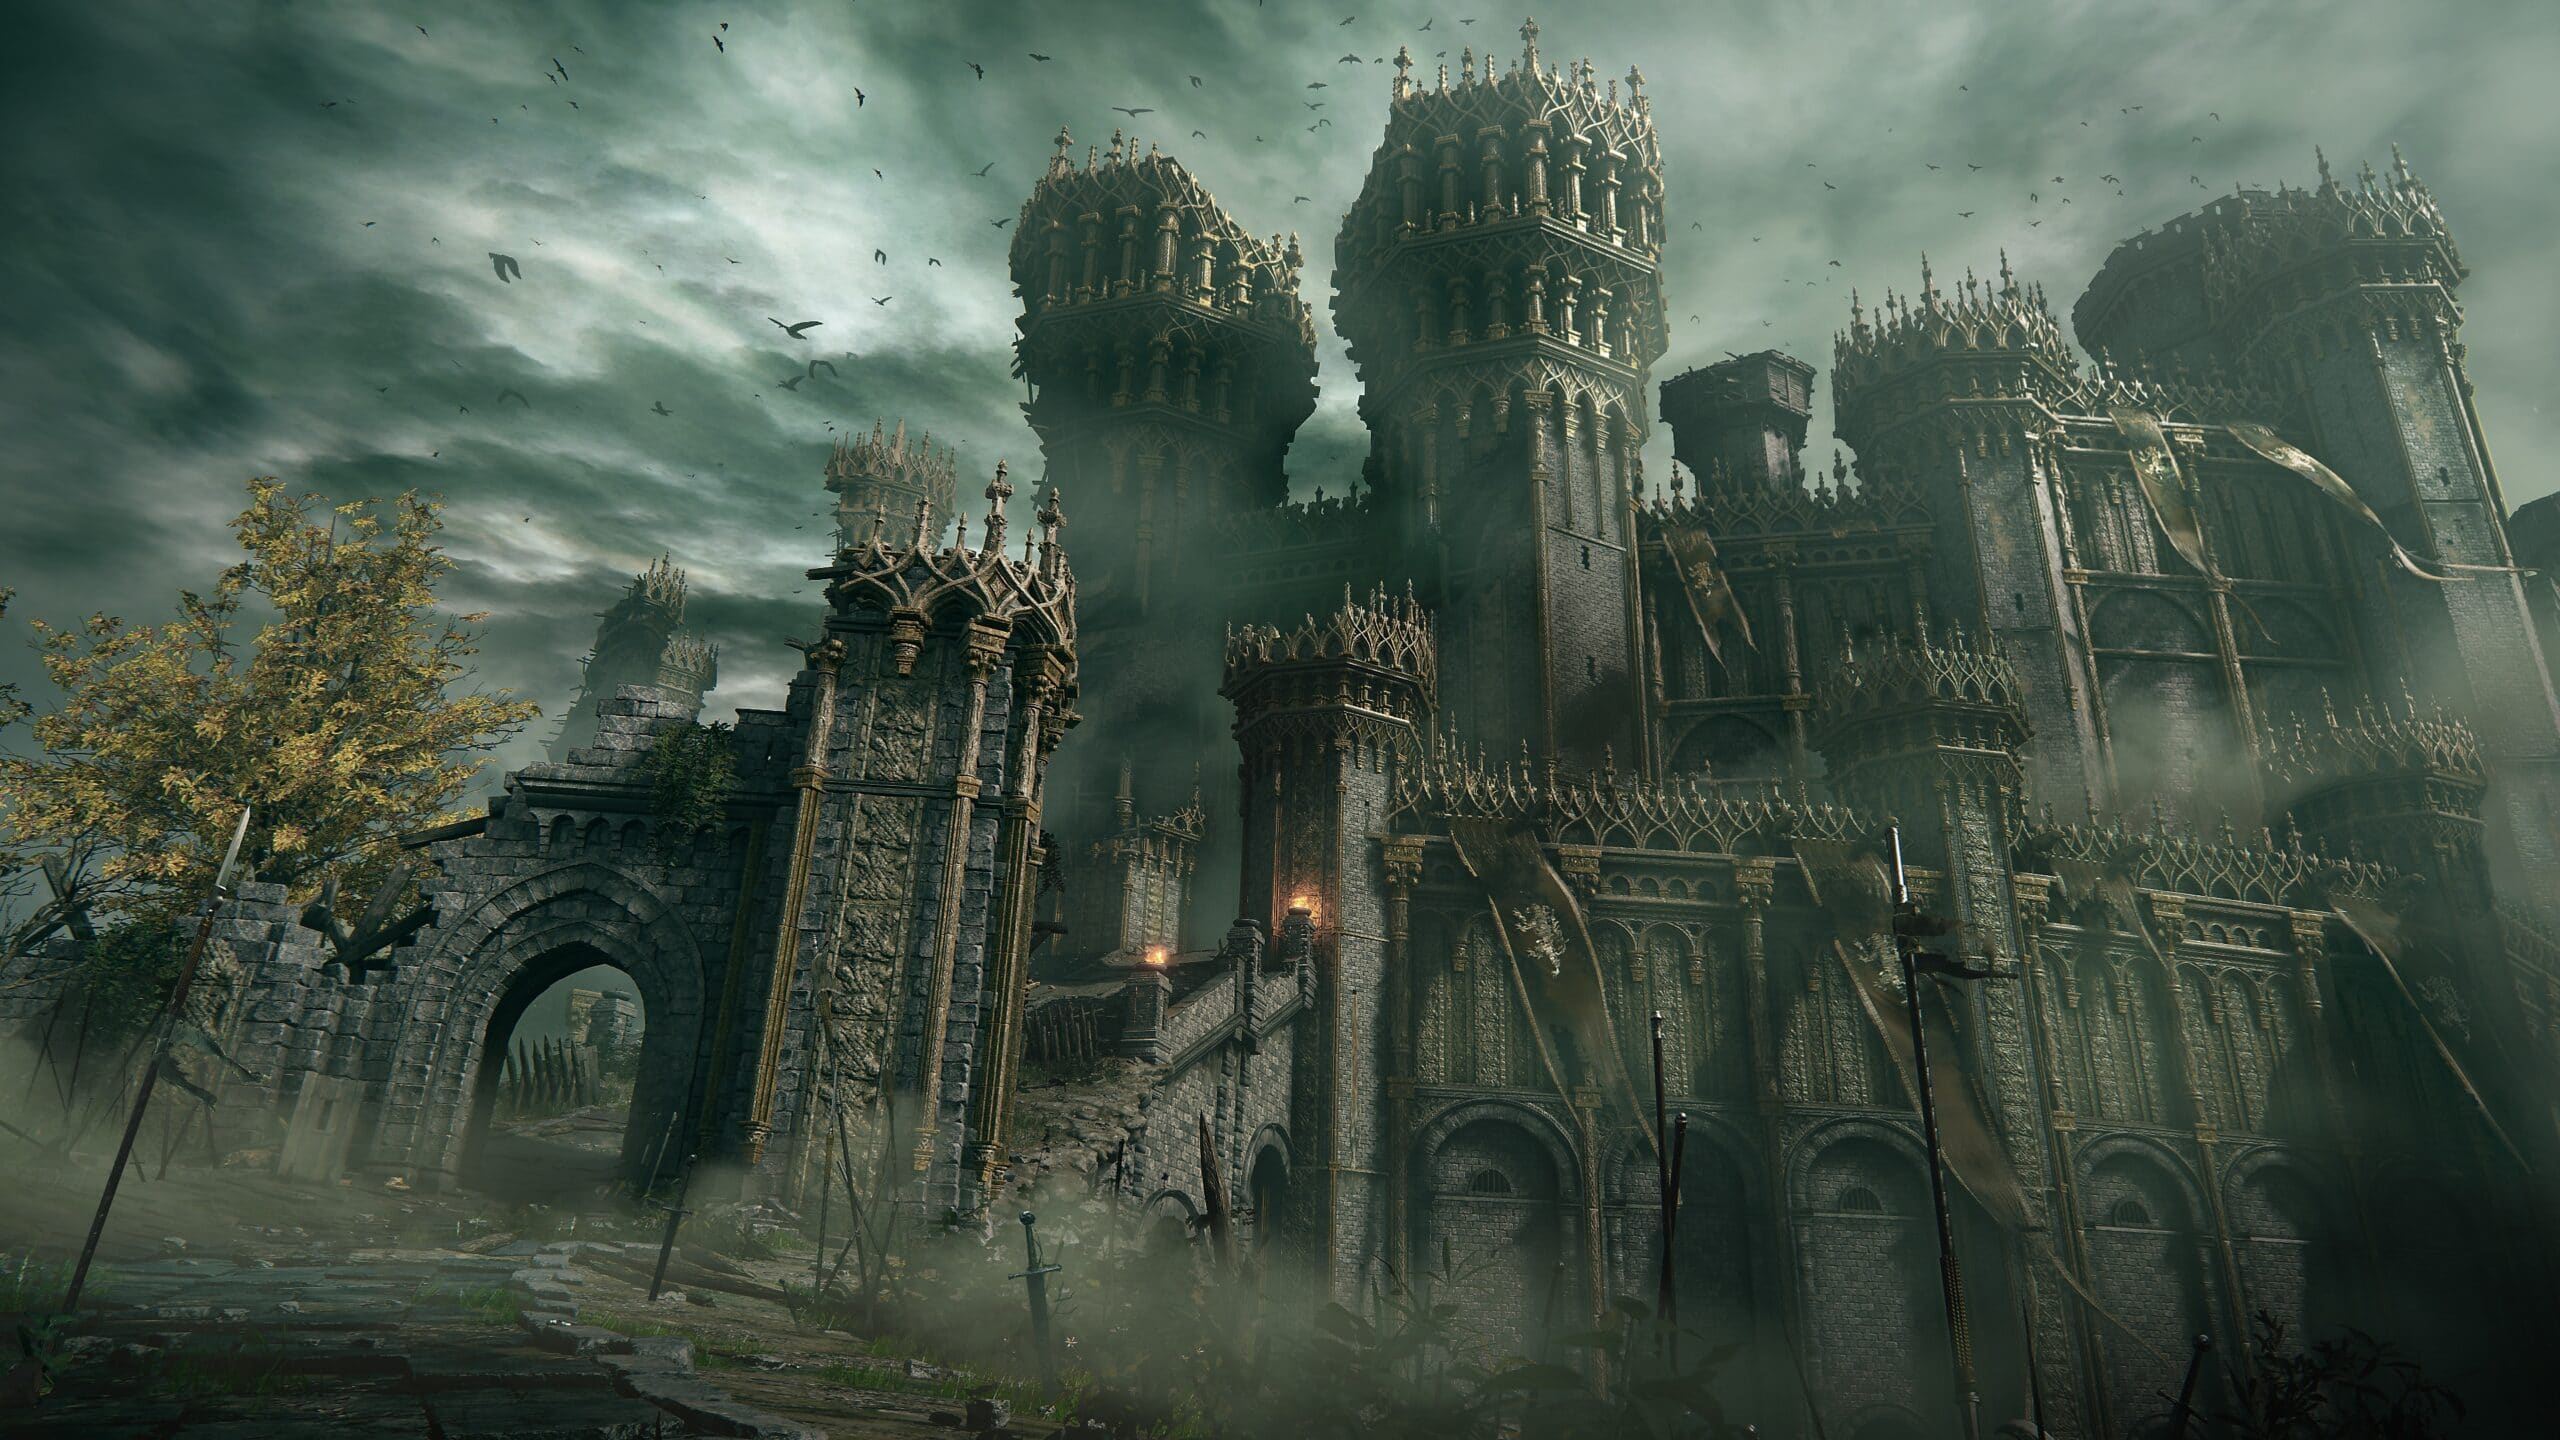
It is located in the Sepolcris Castle of Stormrage, and you will enter it from the isolated Cell . The second boss in the Elden Ring story that appears in the guide. We recommend tackling it from level 30/35 and up if you don’t want to be particularly in trouble.
Godrick is a boss that consists of two phases , interspersed with a cutscene. He possesses an enormous amount of life, so you will need to be very careful in dosing your reserves of healing ampoules. Whether you have a build devoted to melee, or magic, the advice is to summon the NPC at the entrance to the boss area to help you in the fight ( Nepheli Loux, Warrior , if you have talked to us earlier).
In the first phase his attacks will consist mostly of melee attacks and various turns , very fast and quite lethal, and having a scapegoat could be a good advantage (again, the invocations can save your skin). The main purpose will be to try to attack him from behind , in order to inflict more damage. So try to dodge often and attack those few situations in which it will be quiet. If you are in a sorcery build, you may have an easier time if you leave the boss at the mercy of the helpers and you dedicate yourself to magic attacks from a distance (in this case, you may need to distribute the ampoules so that you have enough for mana ).
The second phase could be tricky, as the dragon head will also add fire to its attacks, but it will allow you (especially if the NPC is still alive) to have more time and more openings to hit melee than the first phase. If you have invocations or items capable of inflicting rotten status , you can also decide to manage the combat from a distance without risking too much, and wait for the DOT to do its thing.
The reward will be Godrick’s Major Rune , Remembrance of the Grafted and 11250 Runes .
These are all of the Sepulcrid bosses in Elden Ring , but if more come up, we’ll add them to the guide. In the meantime, our guide to all the trophies and platinum of Elden Ring may be useful, where there are also all the other guides dedicated to the game that can be useful, including the complete guide to all the other bosses. Also for all the information on the game in real time, here is the page dedicated to Elden Ring .
Ulcerated Tree Spirit – easy (at least Level 60)
You will find it in Sepolcride, in the Tomb of the hero of the acrites . Go to the Grace of the Abandoned Cemetery (exactly in the catacombs where you started the game, after the tutorial ), use two stone sword keys , and open the dungeon. This is an atypical dungeon, where you will have to escape from a metal chariot that takes all the width of the corridor, and which will kill you if it touches you. Solve the puzzle by running and zigzagging, but beware of the enemies. In front of the boss statue you will find a statue of Marika.
The boss is a giant, infected, tree lizard that moves around a lot and deals heavy attacks. However, he won’t harm you with every hit, and spends a lot of time squirming. The room is not very large, so it is better to finish the fight quickly so as not to get stuck.
If you have a melee build, hit him often, try to roll and avoid the parry (and summon some ashes you will have good help). With a magical build, things get complicated, but if you are good at rolling, you can win the drag race. Fire is a good friend.
If you kill him, you will get 15000 runes , a Golden Seed and the Ashes of Oleg, the exiled knight .